
Leave Your Message
Modern Wood Veneer Paneling can bring the warmth of real wood into rooms without the weight or cost of solid timber. Its thin wood surface, however, makes thoughtful selection important. Grain direction, color variation, substrate, finish, and panel dimensions all affect the final appearance. A sample may look calm under showroom lights, then seem darker beside a window. It happens.
This guide presents ten practical tips for choosing panels that suit your space and everyday needs. You’ll learn what to inspect in veneer samples, how to consider lighting and room use, and which product details to confirm with a supplier. Ask about the core material, veneer thickness, finish, care instructions, and installation requirements; product specifications can vary. Where possible, view several panels together, since natural grain and tone are rarely identical. Small differences can add character, though they may not match every design plan.
There is no universally perfect veneer. A glossy finish may show fingerprints, while a highly uniform pattern can feel less natural in a large room. These are trade-offs worth noticing before ordering. Compare samples in the actual space, check manufacturer guidance, and discuss installation with a qualified professional when needed. A little uncertainty remains, even after careful planning. The aim is not to eliminate variation, but to choose panels whose appearance, performance, and maintenance expectations fit your project.
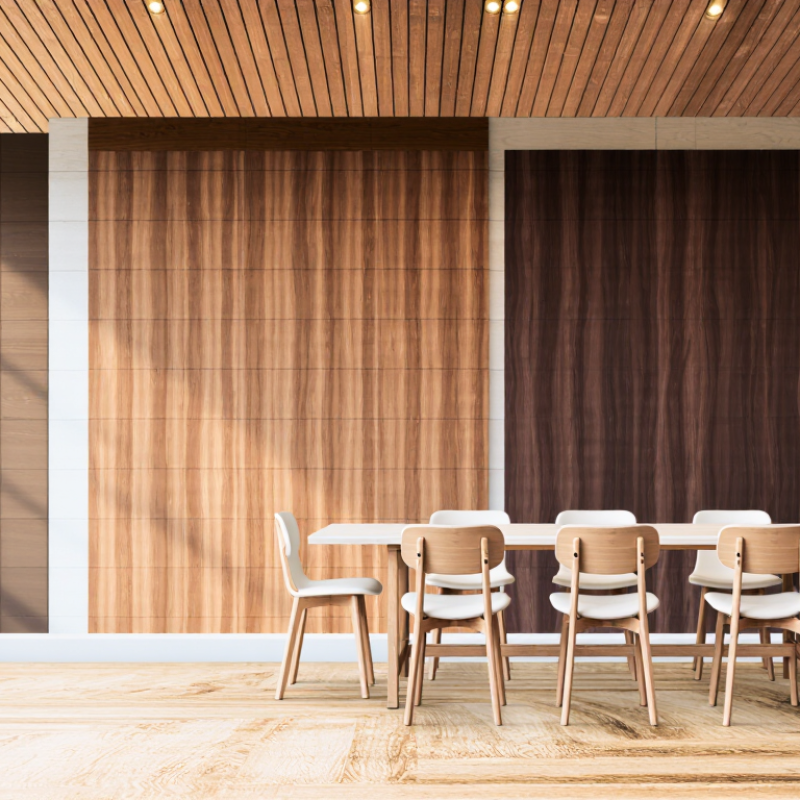
Modern wood veneer paneling is usually a thin slice of real wood bonded to a stable core. That core may be plywood, medium-density fiberboard, or particleboard. The face veneer provides the visible grain; the core largely determines weight, screw-holding ability, and resistance to warping. Look closely at an exposed edge. You should be able to see whether the layers are even and firmly bonded.
Construction matters because wood responds to moisture. The USDA Forest Products Laboratory’s 2021 Wood Handbook reports that heated indoor spaces commonly reach about 6–8% equilibrium moisture content. A panel installed in a damp room may behave differently from one in a dry living room. Ask about the core, adhesive, veneer thickness, and recommended indoor conditions. Small details matter.
Many panels use a balanced build, with a backing layer that helps counter movement in the face veneer. But “balanced” does not guarantee a perfectly flat wall. Storage, acclimation, and installation all play a part. Leave panels in the room before fitting, and check the manufacturer’s moisture guidance. A sample can mislead. Grain and color may vary across full sheets, and even a careful layout can look less uniform than expected. That is worth considering before ordering.
| Tip | What to Consider | Practical Guidance |
|---|---|---|
| 1. Choose the veneer species | Species differ in color, grain, figure, and natural variation. Veneer is real wood, so sheets from the same species can still look different. | Review a full-size sample where possible, and assess it under lighting similar to the finished room. |
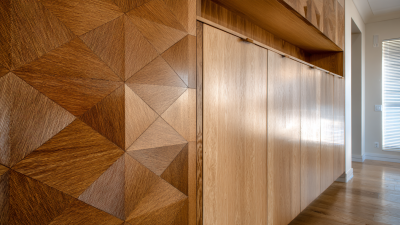
| 2. Select a grain match | Common arrangements include book matching, slip matching, and plank matching. Each creates a different visual rhythm across adjoining panels. | Ask for a layout or sequence drawing for prominent walls so the grain direction and panel order are clear before installation. |
| 3. Understand the panel construction | A veneered panel generally combines a thin real-wood face with a substrate such as MDF, particleboard, or plywood, bonded together with adhesive. | Confirm the face material, substrate type, overall thickness, and whether the panel is supplied finished or unfinished. |
| 4. Match the substrate to the application | Substrates vary in weight, stability, edge-holding ability, and suitability for the intended fixing method. Moisture-resistant grades are intended for humid conditions, not continuous wetting. | Choose a substrate suited to the wall, fixing system, and room conditions; follow the panel maker’s installation instructions. |
| 5. Check the balancing layer | A backer or balancing veneer can help reduce unequal movement caused by changes in moisture. Construction details vary by panel. | For large or exposed panels, ask whether the back is balanced and whether all faces and edges require sealing. |
| 6. Specify the finish | Clear finishes can change the apparent color and sheen of wood. Lacquer, oil, and other coating systems have different maintenance and repair requirements. | Approve a finished sample, and confirm the sheen, cleaning method, and whether the coating is suitable for the panel’s location. |
| 7. Consider light and color variation | Wood color can vary naturally between leaves and may change with exposure to light. Artificial lighting can also affect how tones appear. | Check samples in the actual room and avoid judging color from a small image or under only one type of lighting. |
| 8. Plan for moisture and movement | Wood and wood-based panels respond to changes in humidity. Poorly controlled moisture can contribute to swelling, gaps, or distortion. | Store panels flat in suitable indoor conditions, allow them to acclimate as directed, and provide the expansion clearances specified for the system. |
| 9. Review fire and indoor-air requirements | Fire performance and emissions depend on the complete panel assembly, including the substrate, adhesive, and finish. Requirements vary by building and location. | Request relevant test documentation and verify compliance with applicable local codes and project specifications. |
| 10. Plan the installation details | Panel size, edge treatment, joints, fixings, and access to services all influence the finished appearance and future maintenance. | Prepare a measured elevation before ordering, coordinate outlets and trims, and use installation methods approved for the panel and substrate. |